"Add a Transparent Text Area In Photo".
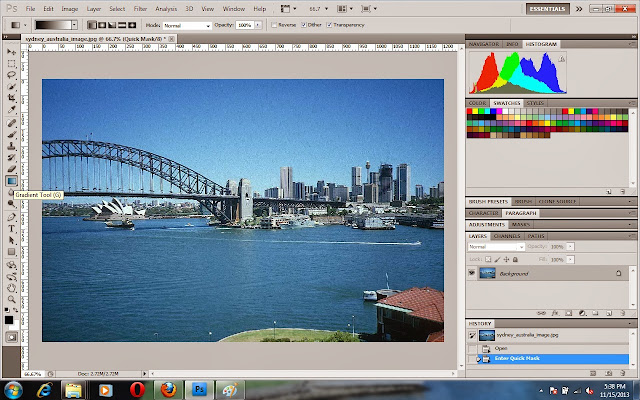
Before
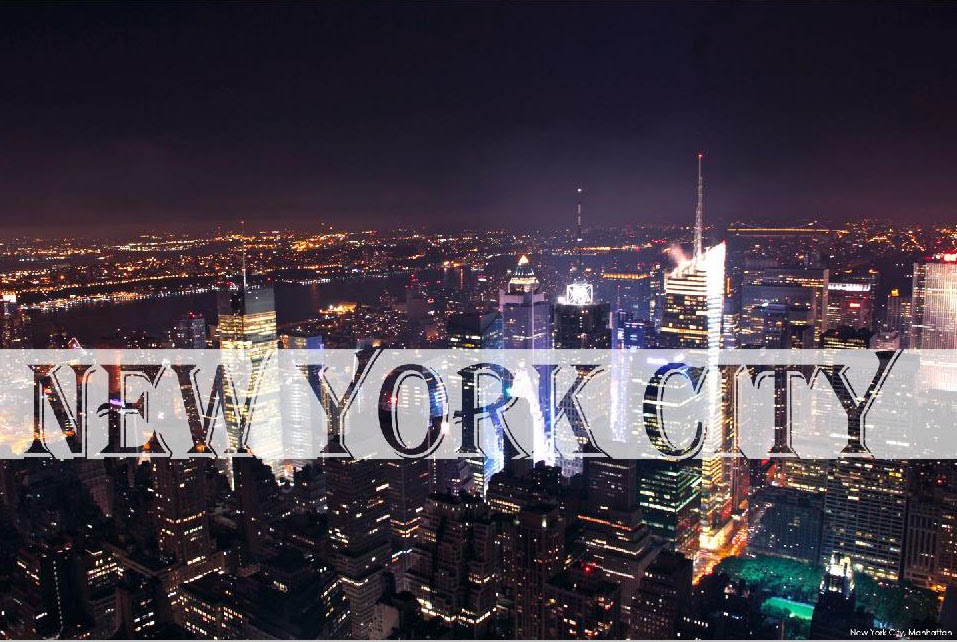
After
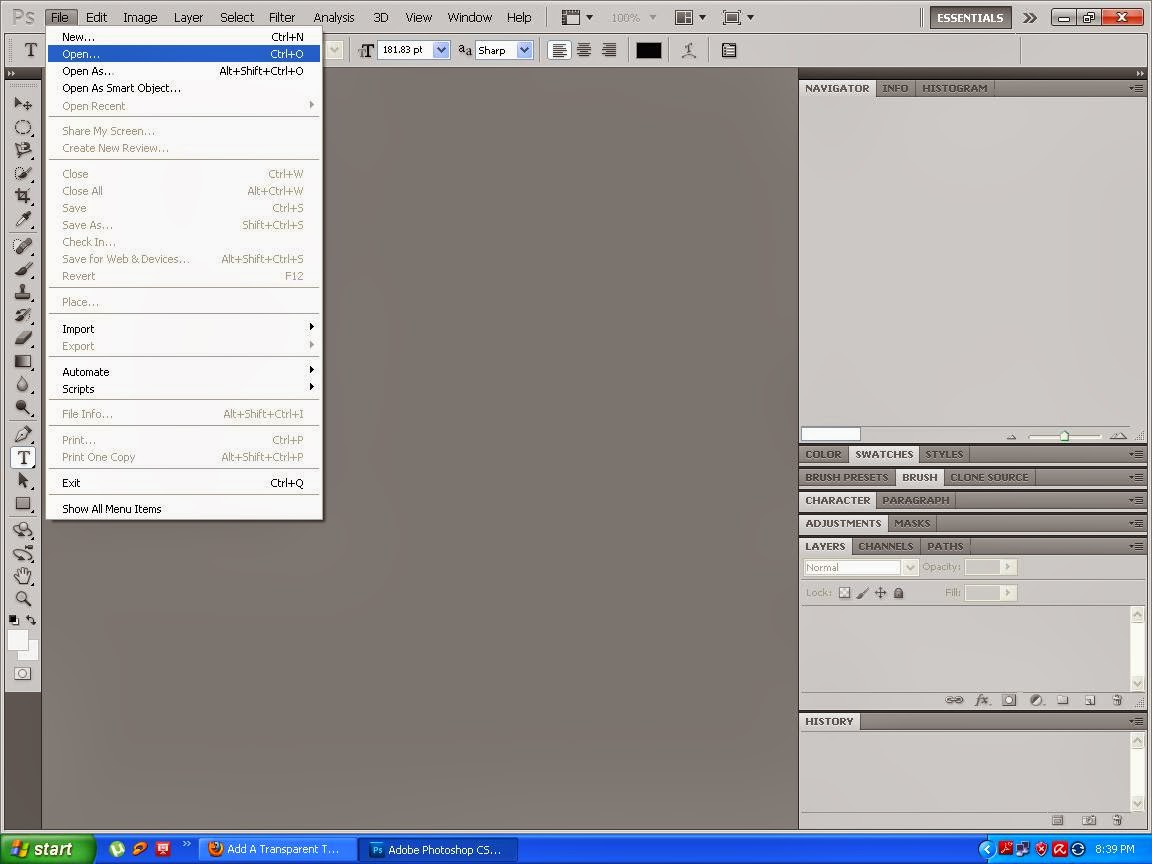
Step 1. Open a photo From File menu.
Step 2. Creat a new layer by selecting this icon which is highlight in below picture.
* Photoshope adds a new blank layer named "layer 1" above the photo on the background.
Step 3. Fill the new layer with white, go up to the
Edit menu in the menu bar along the top of the screen and choose the
Fill command.
Go to Edit >Fill.
* This open the fill dialog box.
* Set the
Use option of the dialog box to
white.
* Mode option at the bottom is set to
Normal
* Opacity is set to
100 %
* Choose
OK to close out the fill dialog box.
* Photoshop fills Layer 1 with wight.
Step 4. Lower the opacity of layer 1.
*Set the opacity 70% as shown in below.
Step 5.
* Add your text by selecting
Type tool icon tools panel.
Step 6.
* After Typing text, select a
font color and
Font size at the option bar along the top of the screen.
* Select
Black color and
Font size as u wish.
* When you are done, Click the
Checkmark in the option bar to accept the text and exit out of text
editing mode.
Step 7.
* If we look again in the layer panel, we see our newly added
type layer sitting above our white background on layer 1.
Step 8.
* Added a Type layer and Layer 1 to a group.
Step 9.
* With both layers, go to layer menu > Group layers at the top of the screen.
Step 10.
* Click on the small triangle to the left of the folder icon and you will 'twirl' open the group and see the two layers inside it.
Step 11.
* now we can add Transparency effect in our text.
* Select Type layer.
Step 12.
* With the type layer selected.
* Press Right button of mouse.
* A new window will open like shown in below picture.
* Select
Blending option.
Step 13.
* Look for the
Knockout option in the
advanced Blending section & change it
none to
shallow.
* Then drag the
Fill Opacity slider above it all the way to left to value to 0 %.
* Click
ok to close out f the layer style dialog box.
* After completing step 12. you will see your image like this shown in below.
Step 13.
* Select Layer 1.
* Finally lets re sized the semi transparent background.
step 14.
* Resize the background with free transform.
* Go to Edit menu > Free Transform
* Then simply click and Drag
top & bottom transform handles in towards the text to reshape the
background.
* Press Enter on your Keyboard when you are done to accept the change.
Step 15.
Finaly save your photo from file menu.
"Expected Photo is Ready" . ;)